Hey, it’s New York, the city that has it all, from young and wild fashionistas, to elderly salarymen hobbling across the subway to get to work.
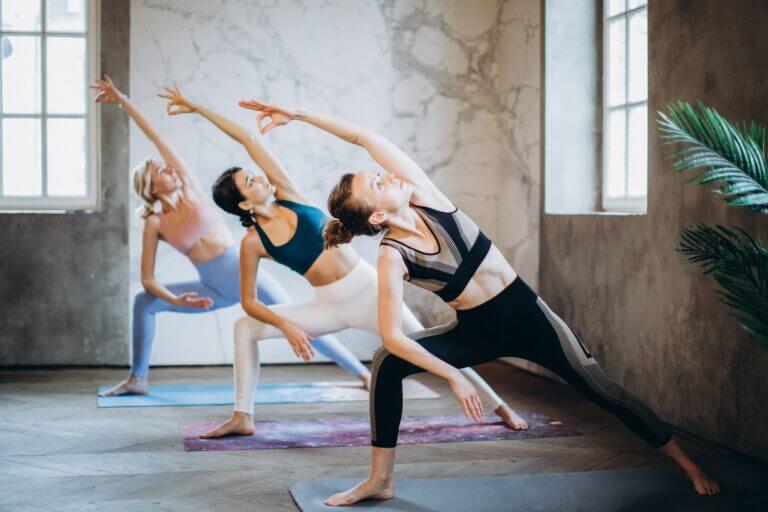
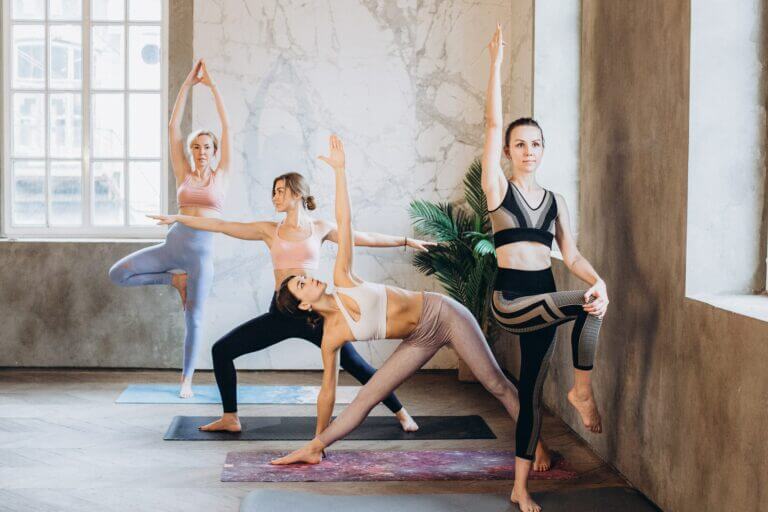
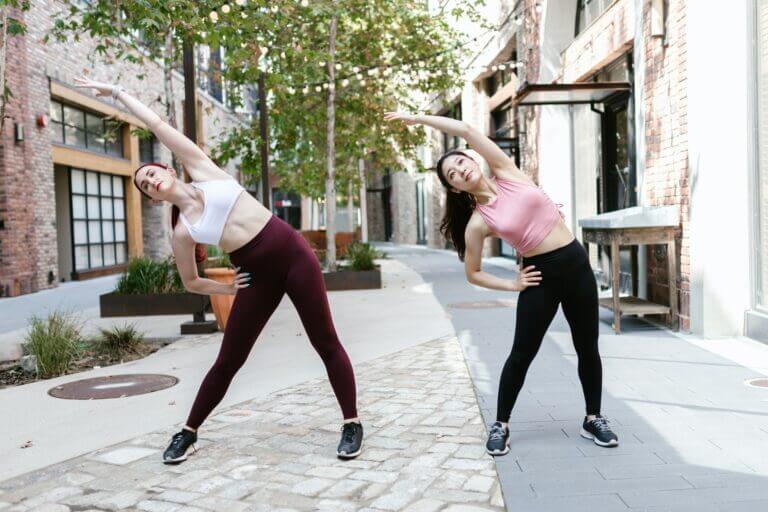
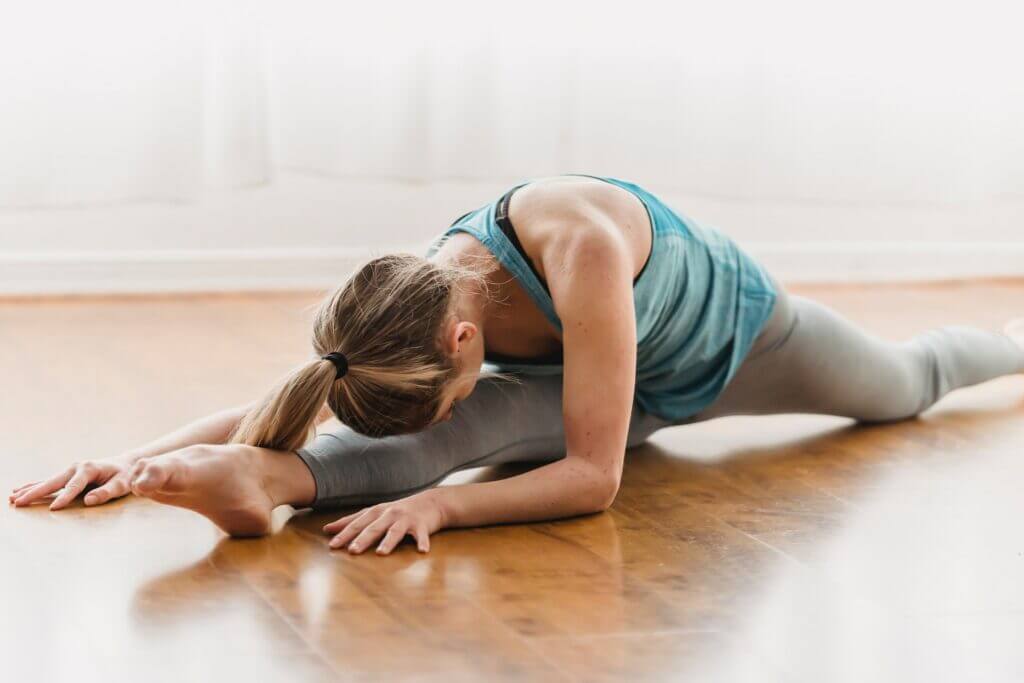
Amongst this crowd of individuality, it’s a common sight to see people dropping into splits randomly down the streets for a photoshoot, or for a TikTok video, or simply to turn a few heads as pedestrians hurry down the streets.
It’s true that splits require a lot of flexibility.
Some part their legs to the front and back of their body, but some extend their legs to their sides.
What’s the difference?
Aside from the obvious visual difference, did you know that the number of muscles used for these splits aren’t the same? In fact, the middle split uses a lesser number of muscles compared to the front split.
Front Split Vs Middle Split—Which Split Is Easier?
When you part your legs in a front split, you’ll be using your hamstrings, glutes, hip flexors, quadriceps, and some inner thigh muscles. Sounds like a lot?
A mid split, on the other hand, uses your inner muscles of your thighs and your hip flexors. Wow, that certainly sounds simpler compared to doing front splits!
Did you come to the conclusion that doing side splits are easier compared to front splits?
Then you’d be surprised to learn that many people find it easier to do a front split compared to doing mid splits!
Why is that?
Although it uses many different muscles, it’s easier to do because we often use those very muscles in our day-to-day activities.
For example, let’s say you tend to do some basic, common stretches after a long day at work, like sitting at the edge of your chair and stretching your thighs to get rid of the soreness in your hamstrings. Or when you walk in longer, bigger strides, hoping to get to your destination faster.
It’s that type of movement—one limb forward, and the other backward—that is used to do a right front split.
Can You Do A Forward Split?
In that case, can anyone do an open front split?
Here’s a quick and easy test to test your split flexibility to see if you can do it.
- First off, get ready to do a deep lunge. Yes, the big one.
- Then lower your body down into the proper position—the front leg bent at the knee, while the opposite leg extends far backward.
- In this position, take note of your thighs and see if they line up with each other, which is what happens when you actually do a front split.
- If they are in a straight line, congrats! You can do a front split—over time, with enough stretching and prep.
What about middle splits, then?
- Find a sturdy table or chair that is around the same height as your hips.
- Stand with your side facing the table, then raise your leg closest to the table and place it on the surface.
- Remember not to bend your knee!
- Now, make sure that both your hips and raised leg are aligned nicely, and that your pelvis is not raised on one side.
- Repeat this for your other limb.
- If all goes well, congrats! You’ve done half mid splits, one on each leg.
Now that you’ve successfully completed both tests, you’ve proven to yourself that in theory, you’ll be able to do both splits after a proper amount of stretching and warm-up! Besides, splits can help people to increase flexibility in their hips.
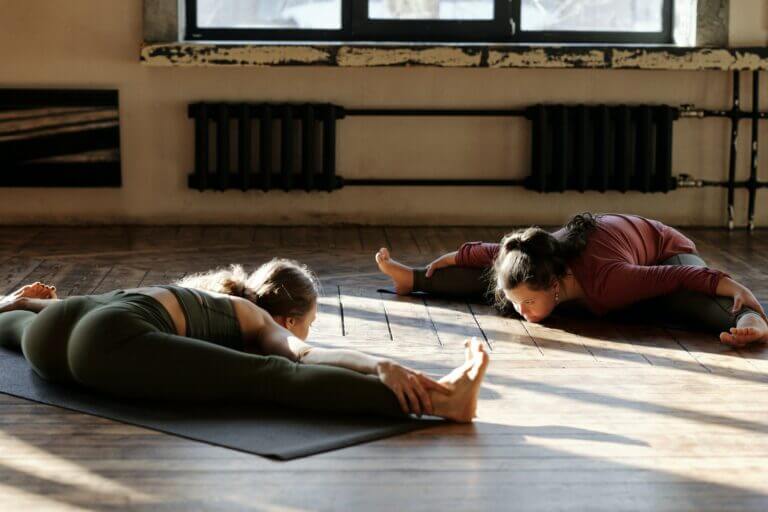
3 Splits Training Stretching Exercises For Active Flexibility
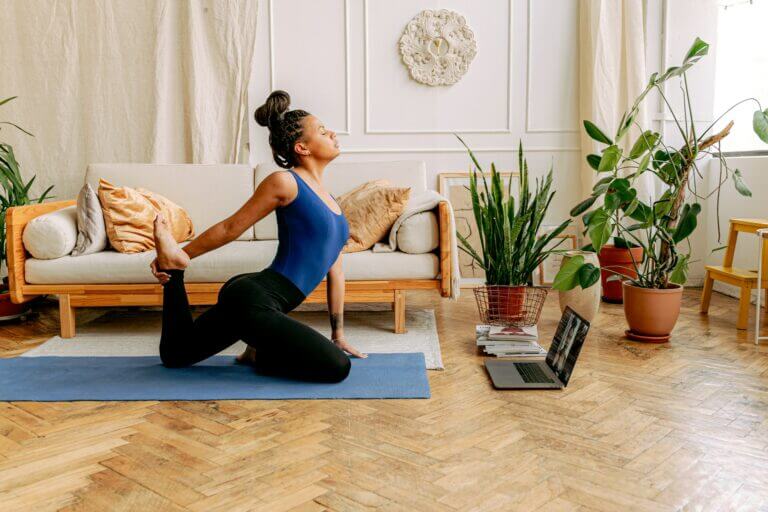
Speaking of stretching, here are 3 stretches that you can do for 15 minutes each day that will stretch your muscles and increase your range of motion so you’ll be flexible enough to one day do the legendary splits. Getting your splits is now possible with this flexibility training!
With this bit of practice, let us stretch out your hips and stretch your hip flexors so you will be able to easily achieve your front split.
While you don’t need a yoga mat, it is still best to use a soft but firm surface for support so you don’t end up hurting yourself.
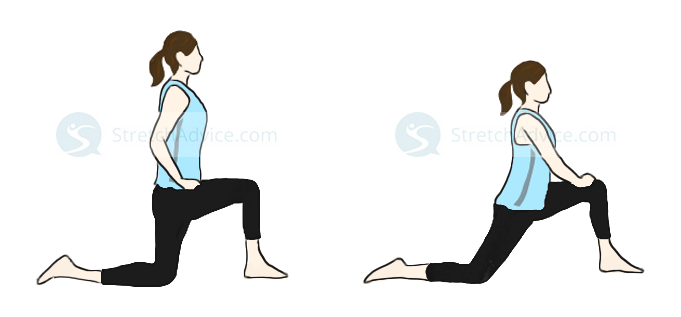
1) Kneeling Hip Flexor Stretch
The movement for this one is pretty much the same as the test you just did.
- Get into a kneeling position, then bring your right knee up, forward.
- Place your right foot on the floor at a 90-degree angle.
- Extend one leg backward and make sure that the front of your calves and foot are flat against the floor.
- Take a deep breath and push your hips forward, resting your hands on your knee.
- Hold the position for 20 to 30 seconds—don’t forget to breathe!
- Repeat on the other side.
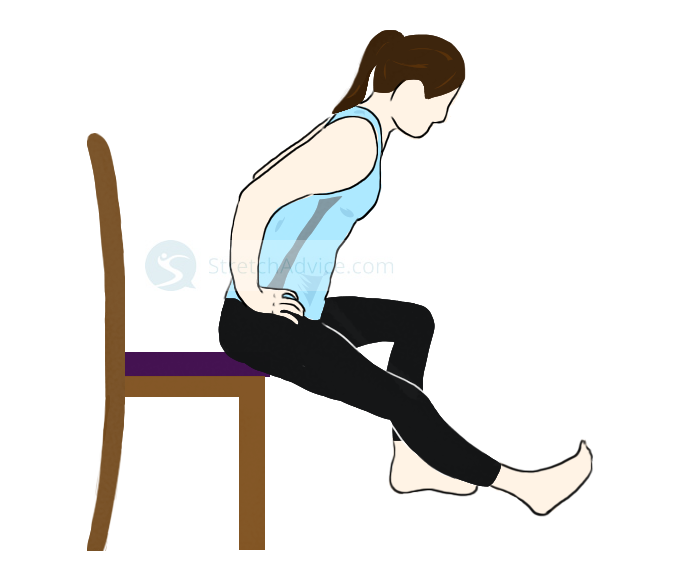
2) Seated Hamstring Stretch
Although it seems simple, it’ll stretch your inner thighs out properly.
- Sit down, almost in a criss-cross position but don’t actually cross your legs.
- Extend your right leg forward and tuck the sole of your left foot on the inner flesh of your thigh.
- Keeping a hand on your right foot—toes pointed upward—take a deep breath and lean forward, pulling the front heel back.
- Make sure that your back is straight and not rounded.
- Hold this position for 20 to 30 seconds, then repeat on the other side.
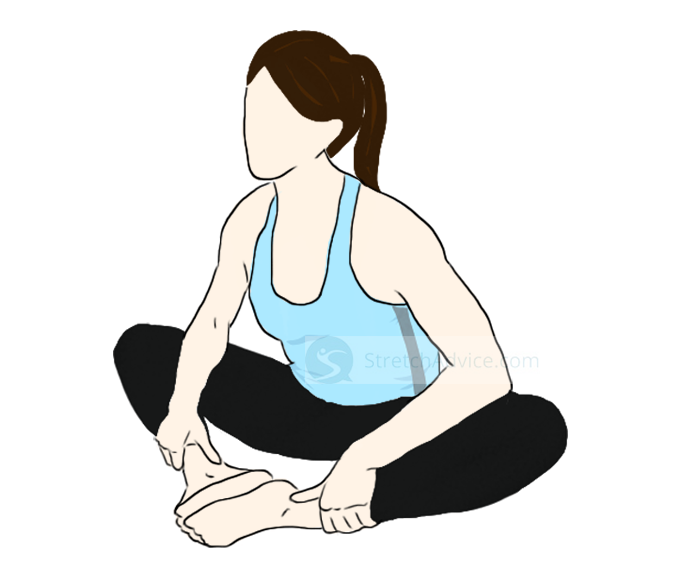
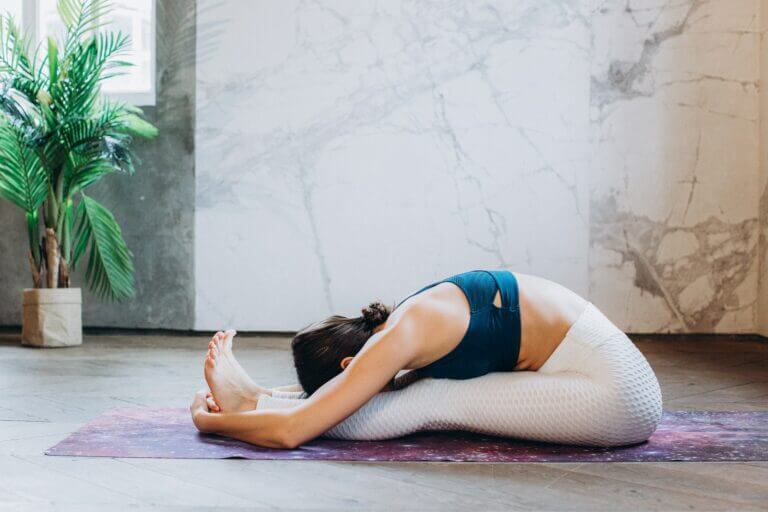
3) Butterfly Stretch
Another simple, but effective stretch.
- Sit down, with the soles of your right and left foot pressed against each other.
- Make sure your spine is straight.
- Using your elbows, gently push down on your knees.
- Hold this position for 20 to 30 seconds before resting for 10 seconds.
- Repeat 2 to 3 times.
For a deeper stretch, you can try to put the palms of your hands on the floor in front of you without arching your back.
Are You Ready To Split?
Now that you’ve learned how to stretch and make your splits easier, you’re ready do the actual splits! Of course, before you split your bendy limbs, you need to stretch as a warm up. It can help you stay the fittest version of yourself. If you have a silky piece of cloth, you can use that as a floor slider that will help you get into the right position to split.
1) Full Front Splits
- Begin in a lunge position, with one leg facing upward and the knee on the other leg on the ground.
- Use some yoga blocks or other props for extra support. Keep one leg straight in front while you ensure that your back knee and ankle of your back leg are facing the floor, not twisted to the sides.
- Place your hands on the blocks as you slowly slide your front leg farther out, all the while straightening your back knee and lifting your back toes off the floor.
- Once you’re lowered to the ground, put the yoga blocks to the side.
- Congrats, you’ve done it!
2) Side Splits
- Start by standing with your feet wide apart and your toes pointing forward.
- Begin to spread your feet wider, lowering your body directly down towards the floor.
- Place your hands flat on the ground before you for support.
- Drop down onto your forearms, then ease your hips into a proper split.
- Congrats, you’ve done it!
By the way, did you know that there’s a third type of split too? Yes, it’s called the true front split.
3) Full Splits (True Front Splits, or Square Front Splits)
This split position is the same as Front Splits, with only one significant difference. Your hips must be squared—that is, not raised on either side.
Square hips are nice and flat, equal on each side. Now you know, you won’t have to scratch your head in confusion whenever your yoga teacher tells you to square your hips or make sure that your hips are square.
But how can you check if your hamstrings and hip flexors are in the correct position?
You can check your posture by raising both arms in the air while in a front split. You’ll want to engage your core in this movement. Then, observe whether your hips begin to raise on one side to compensate.
If it doesn’t, that’s good! You want your leg behind to carry an equal portion of your body weight when you drop into a forward fold, not your hips. That’s how you can easily keep your hips squared and your back flat.
The Takeaway
And there you have it! Three stretches you can do to increase your flexibility, and the three ways of doing a split!
There are more than just these three reps that you can add to your stretching routine though. For example, you can try doing the piriformis stretch and the pigeon pose for a greater range of motion.
But please take care not to oversplit yourself. If you find yourself in an extremely uncomfortable position, you might be taking things a bit too fast. Either return to your starting position and try again slowly this time, or stop and let your muscles rest.
If you’ve suffered a hip or knee injury before, you should definitely talk to your doctor and see if it is wise to go as far as this. You don’t want to hurt yourself further by tearing your flexion muscles or hurting your front knees.
Remember not to overexert your muscles though—there’s no benefit to be had if you injure yourself. There’s no need to rush; just take it one day at a time and you’ll definitely get there in the future. I have faith in you! Get your front splits down pat today!